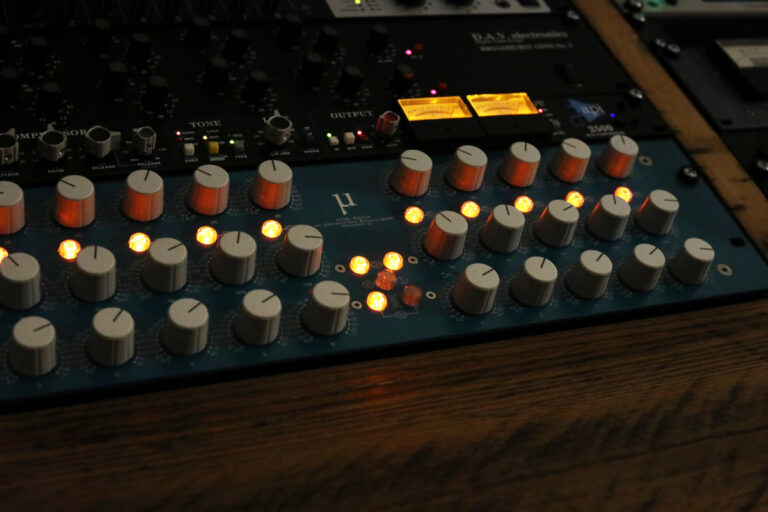
5 reasons why analogue still matters in mastering
Even pro mix engineers tend to work in digital these days. So why do professional mastering engineers still predominantly work in analogue? Here are 5 reasons.
Every now and then someone asks me for a louder master for radio. I never agree. Here's why,
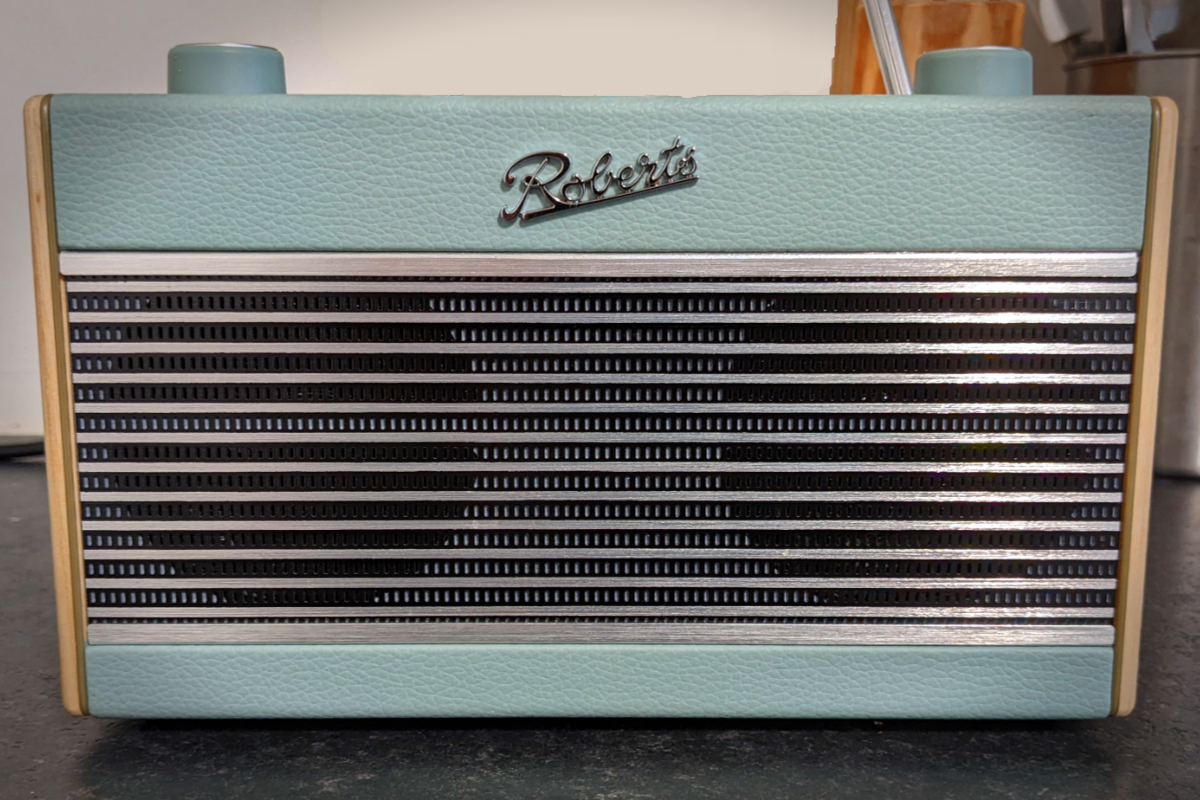
'HD audio' is becoming increasingly common on streaming services. Is it worth the extra money? Or is it just the latest example of consumer hi-fi snake oil?
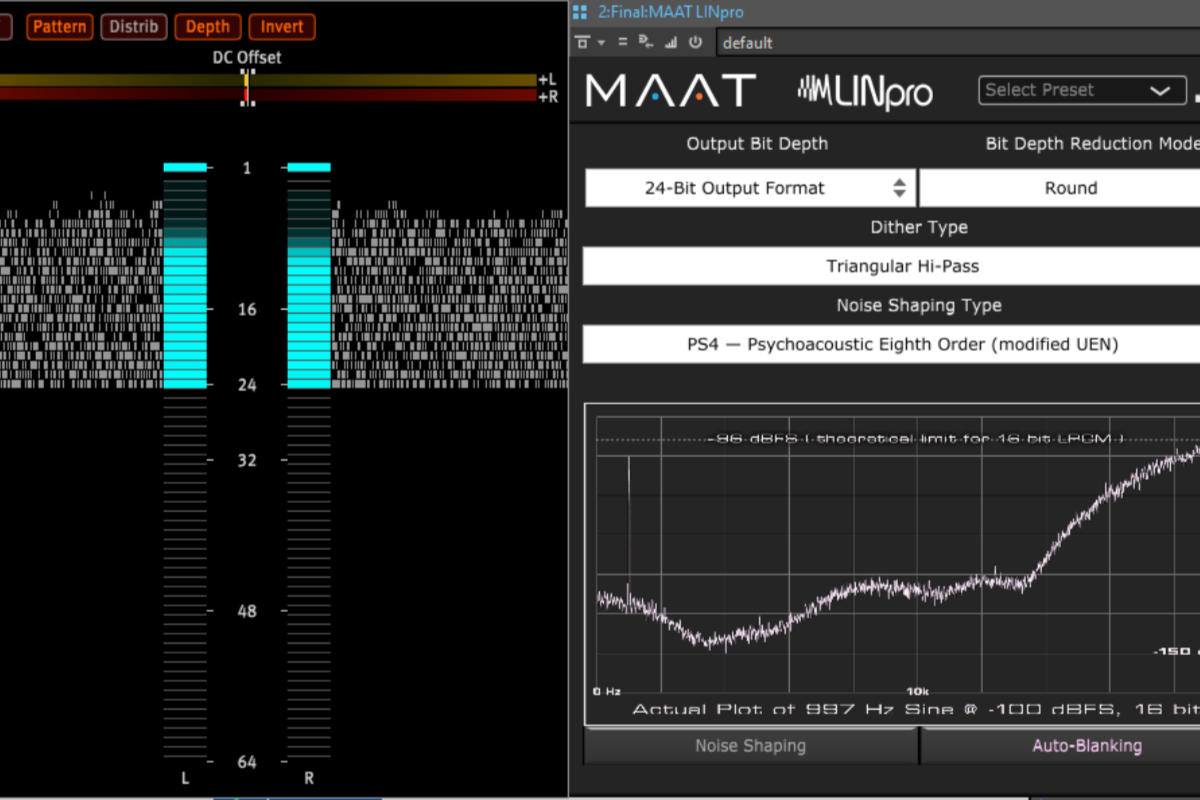
Should you dither to 24-bit? Absolutely. Find out why it matters - and how to do it correctly.
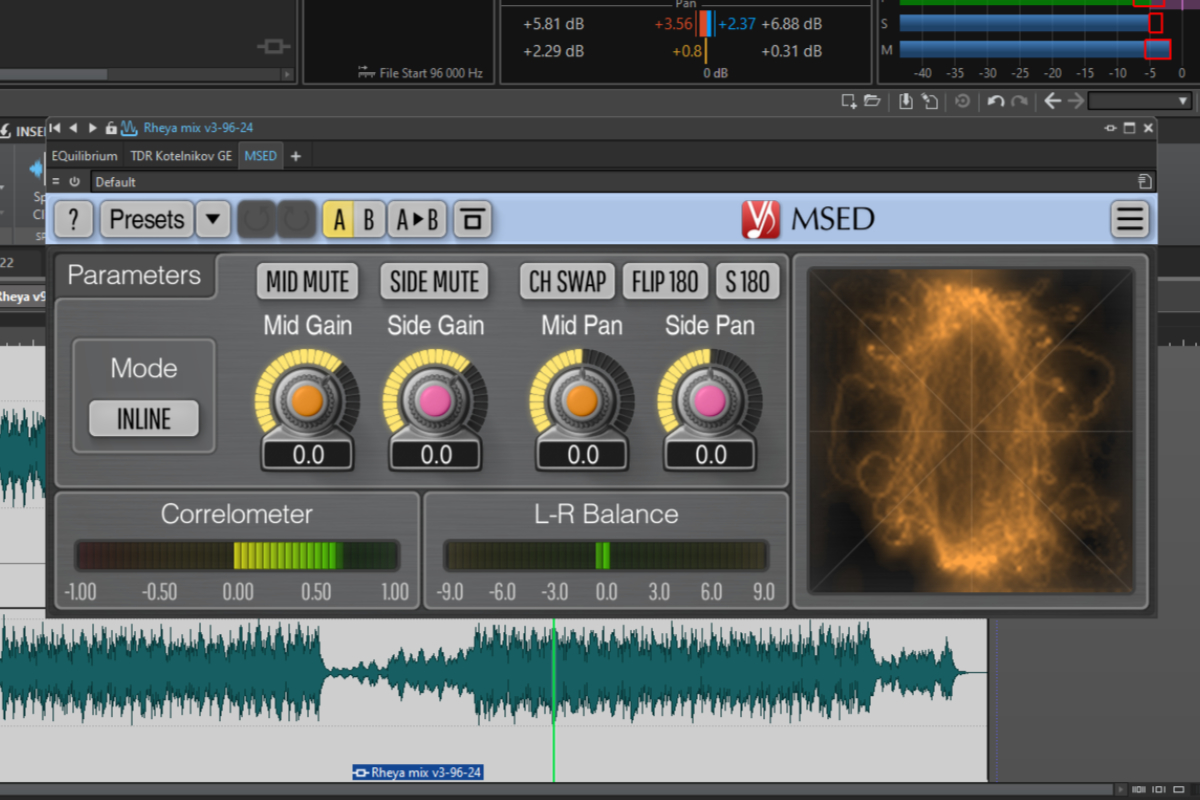
Mid/side has become increasingly common in mixing and mastering. But what do we mean by mid/side? How do you use it? And when should you use mid/side?
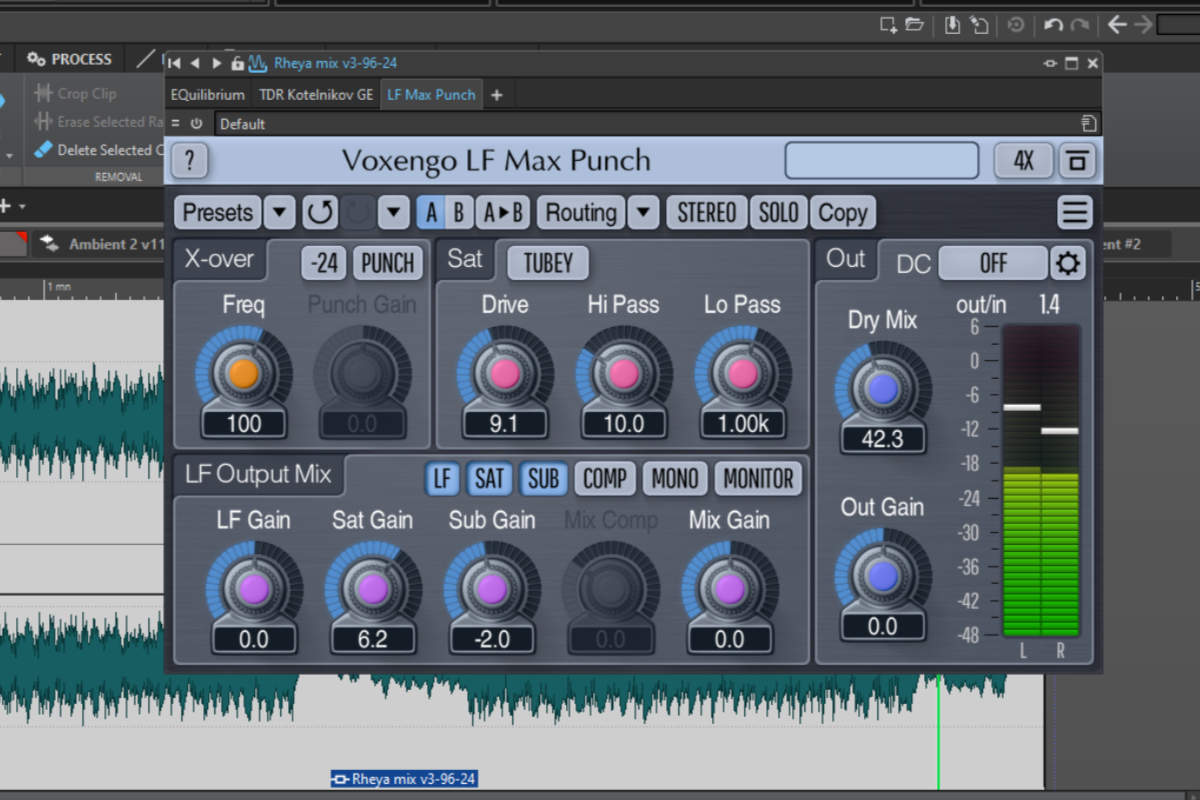
Making bass translate is one of the biggest challenges in mixing and mastering. How do you make bass instruments audible on smaller speakers?
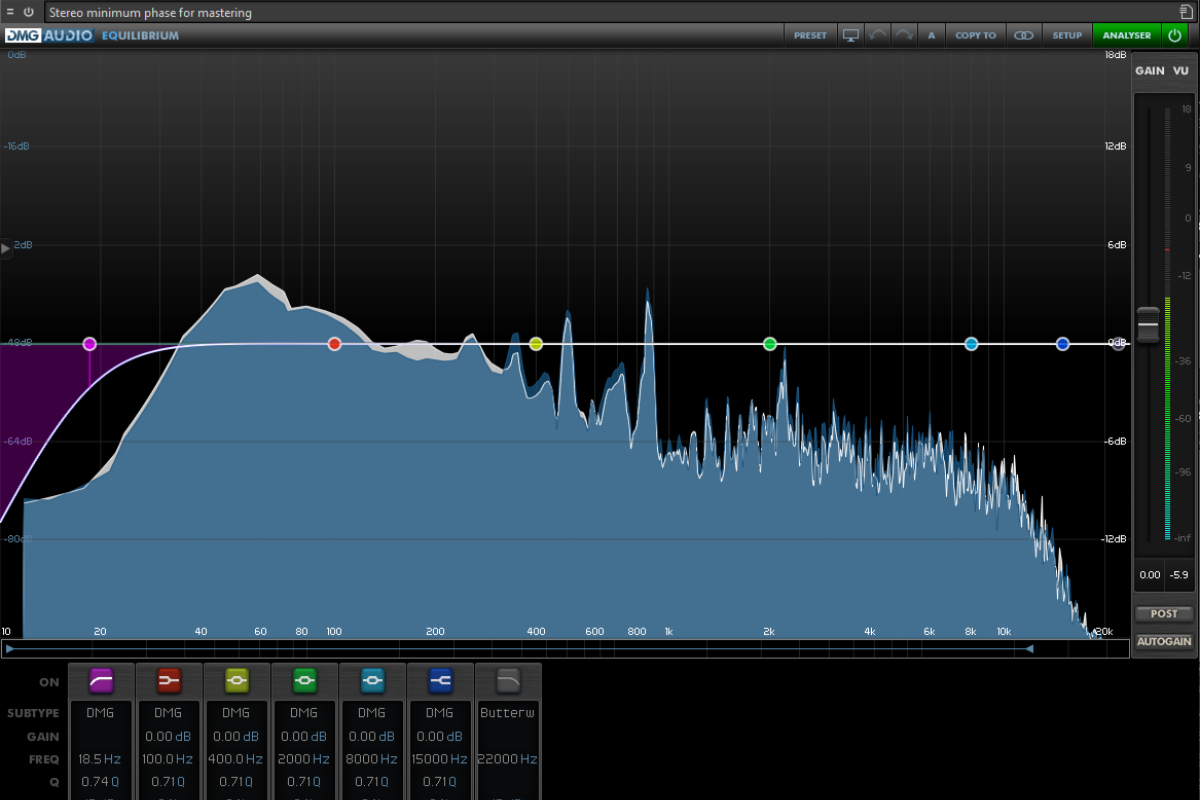
Managing low frequencies is one of the hardest, and more essential, parts of mixing and mastering. Learn how to make space for bass with filters and EQ.
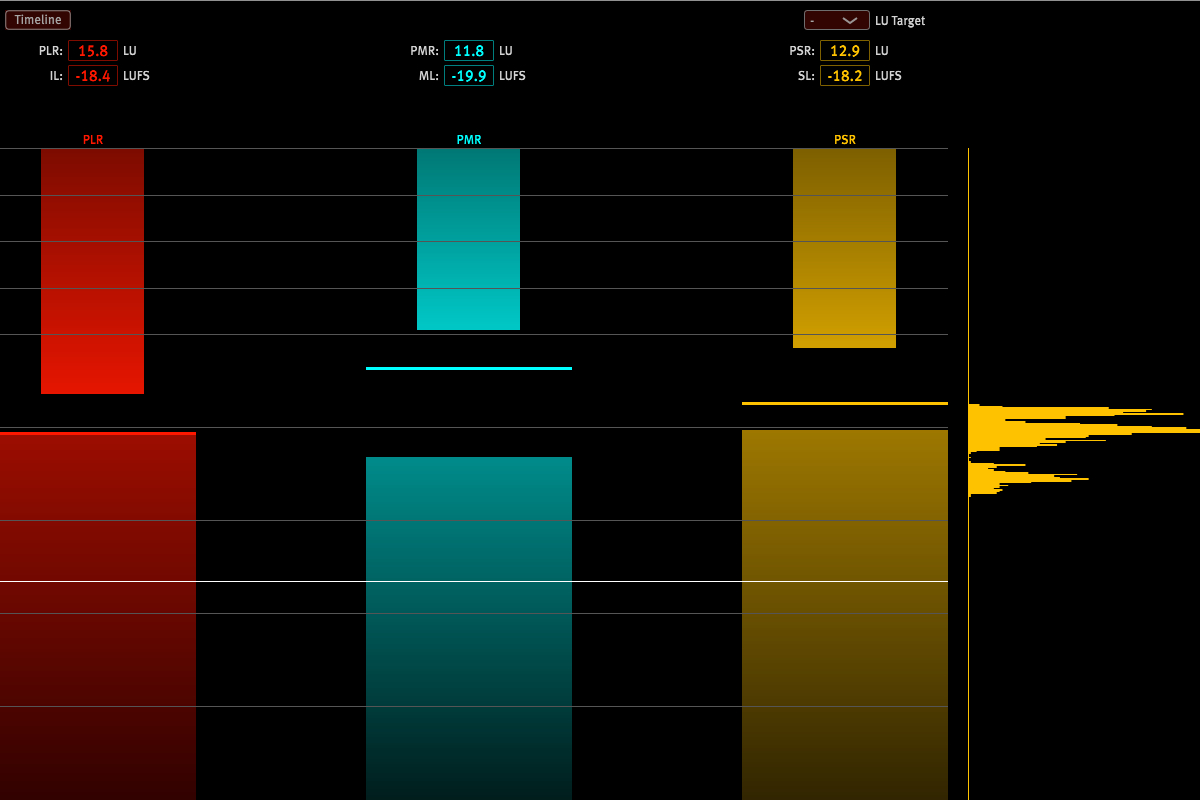
Dynamic range and loudness meters are an indispensable part of modern mixing and mastering. But what do they really mean? And how do you use them?
Billie Eilish and the myth of the homemade Grammy-winner
When Billie Eilish won a grammy for her first album, a lot of press focused on how it was 'made in a bedroom'. But there's more to the story than it seems.